How to create a social media approval process for your charity

Whether you work in a large team or a small one, it’s important that your social media is consistent in tone of voice, brand and even how often you post. Think of your social media channels as a cake. The cake may be made up of many ingredients but you still only want one cook. So how do you ensure that your cake is a Great British Bake Off showstopper and not a crumbling mess? You need a watertight recipe.
For this recipe you’ll need:
- A project management tool like Trello or Airtable
- A Lightful account
- A commitment to building an approval process
Before we begin baking, it’s important to remember that an approval process doesn’t need to be daunting or complicated. It just needs to work.
Step 1: Agree on a common set of tools
The first step can sometimes be more challenging than it looks as everyone has their own ways of working. I’m going to talk about Airtable, but some people love using other tools like Trello, Google Sheets or even JIRA (a management tool used by software companies). It’s less about the tool itself and more about finding a tool that everyone is happy to use.
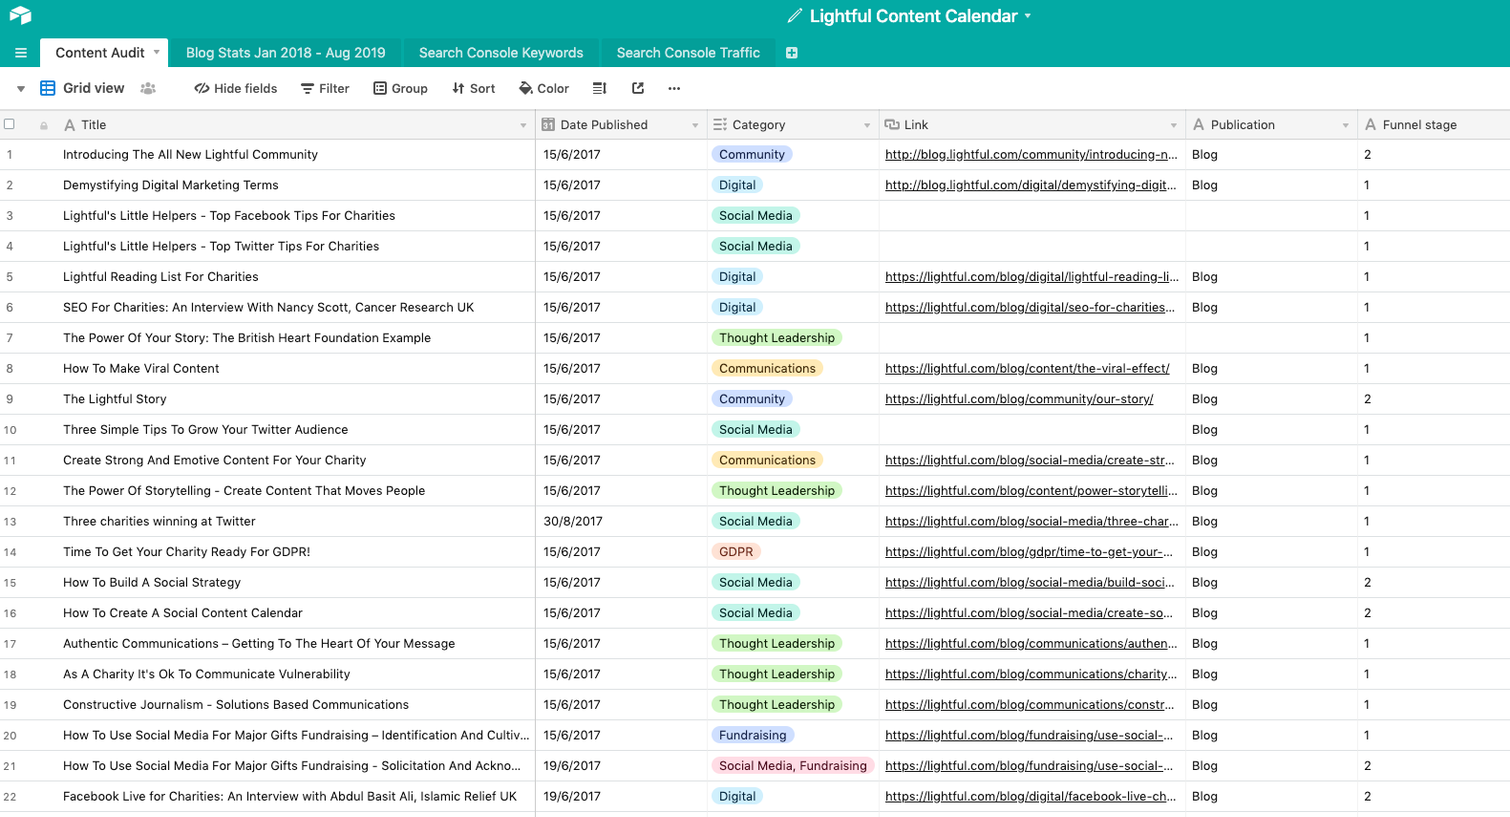
Airtable is a fancy spreadsheet – I won’t make it sound more complicated than that – however, with multiple collaborators and handy colour coding, you can make it your One Source of Truth for a social media schedule!

Step 2: Set up your tool in a language you understand
The only thing worse than jargon is jargon that nobody understands. If you’re all on the same page when it comes to shorthand (FB is Facebook, right?) then your scheduling and approval process will work. If you’re not clear, set up documentation that explains the term you’re using in a clear to understand glossary (this is great for new starters or volunteers, too!).
Step 3: Get all of your assets in one place
From copy to photos and everything in between, the best approval process is only as good as the best organiser in your team. Using tools like Airtable, together with the Lightful Media Library, you can combine your best bits of copy (your lead statistics, your impact statement and your mission) as well as your best photos. If you’re using a shared Google Drive, you can connect that to the Lightful Media Library so your photos are accessible on our platform.
Step 4: Start building your schedule and your posts
Using your project management tool, in our case Airtable, start adding each of your posts as a line item, including the scheduled date, the category (these might be donation asks, case studies or behind the scenes) as well as a link to any external content. You can also look at the kind of people you’re targeting with these posts using personas!
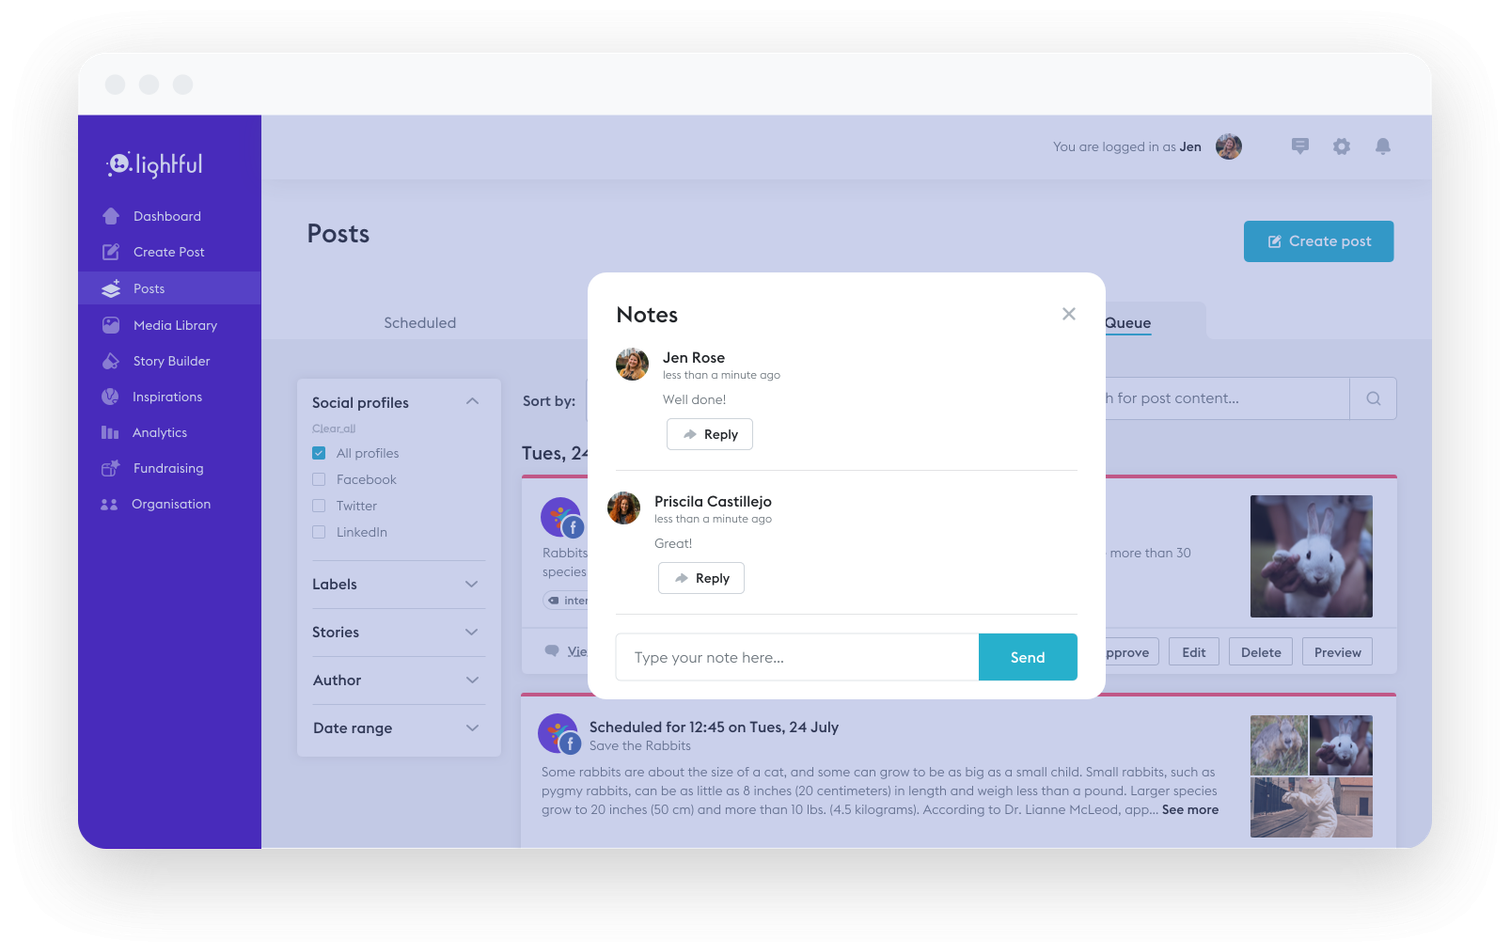
Don’t forget that you can start creating your posts immediately in Lightful and send them to the approval queue as and when you need them to be approved. This adds an extra layer of security so you can ensure all posts meet your brand guidelines before they’re published.

Lightful Hack: Save time when creating your posts using Lightful
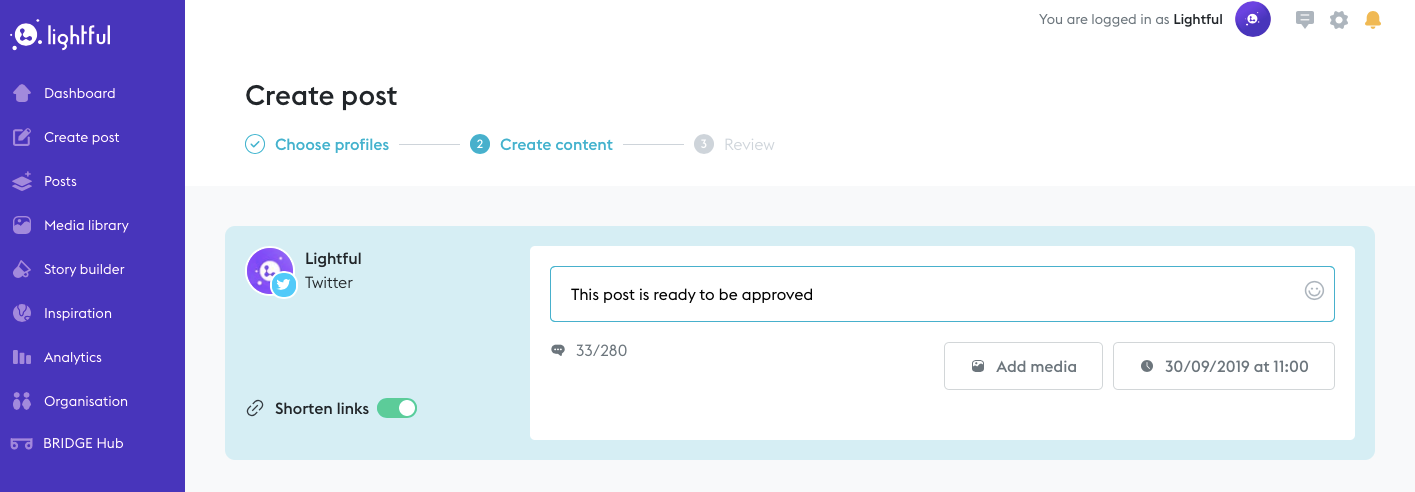
Want to know a cool hack? If you change the code in this link: https://partners.lightful.com/posts/create?selectedDate=2019-09-30T10:00 you can pre-select the date and time of a scheduled post. This means you can quickly drop in a link that will take you right into the “Choose profiles” stage of the Lightful post creator.

It’s as simple as that. By following this recipe, you’ll ensure your cake turns out beautifully no matter who is adding the ingredients.
Latest articles

In a world of growing uncertainty, small and local non-profit organisations often find themselves with competing priorities and struggle to plan how to allocate their available resources. Despite the increasing demand for their vital work, they are not always able to allocate the funds they receive to strategic planning and future growth.

As the world becomes more digitally-focused, it’s essential for nonprofits to have a digital presence. With more and more options for online engagement, we know that this can be challenging for nonprofits to tackle. But, we also know that it is a huge opportunity to increase audience engagement, awareness and fundraising. To help nonprofits navigate this, we’re going to explore the “whys” and “hows” of creating a nonprofit digital strategy. We’re even providing a free digital strategy canvas to help nonprofits improve their online presence in just a few steps.
Related posts

Facebook recently announced that they are removing Facebook Analytics. Facebook Analytics was a tool that allowed individuals to see how their Facebook followers were interacting with their pages and content. As of June 2021, it is no longer available, but what does this mean for your organisation and your social media data?

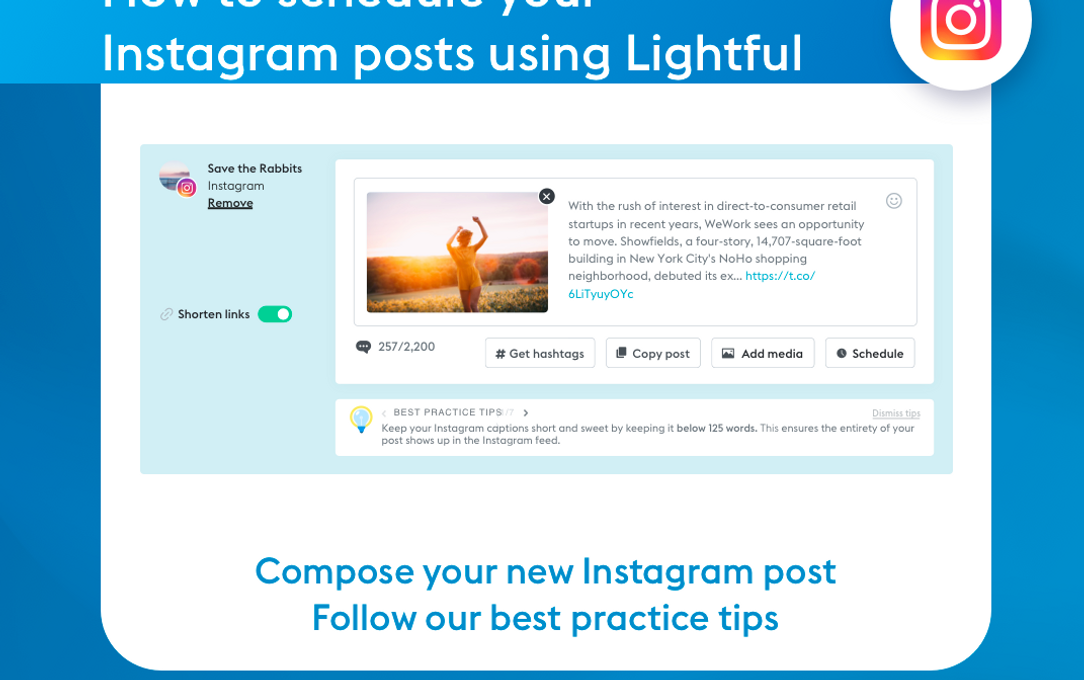
Instagram is a visual channel that helps you build an engaged community of people who are following your cause.
See who we help
Contact us
Want to learn more?
Email Jonathan and start a conversation


